09 May How to Photograph your Ceramics
Knowing how to photograph your ceramics effectively will make a huge impact on attracting your audience and developing the look and feel of your brand. In a previous article on “how to make a living from ceramics’, we gave tips and advice on how to start your own ceramics business. Always make sure that your ceramics are in great condition, never rush the process, take the time to ensure you have the end result that you’re hoping for. 137° offers ceramicists access during our Open Studio hours. You’ll have access to a range of equipment and materials to start a new project, or add those all important finishing touches. You can learn more about open studio schedule hours here.
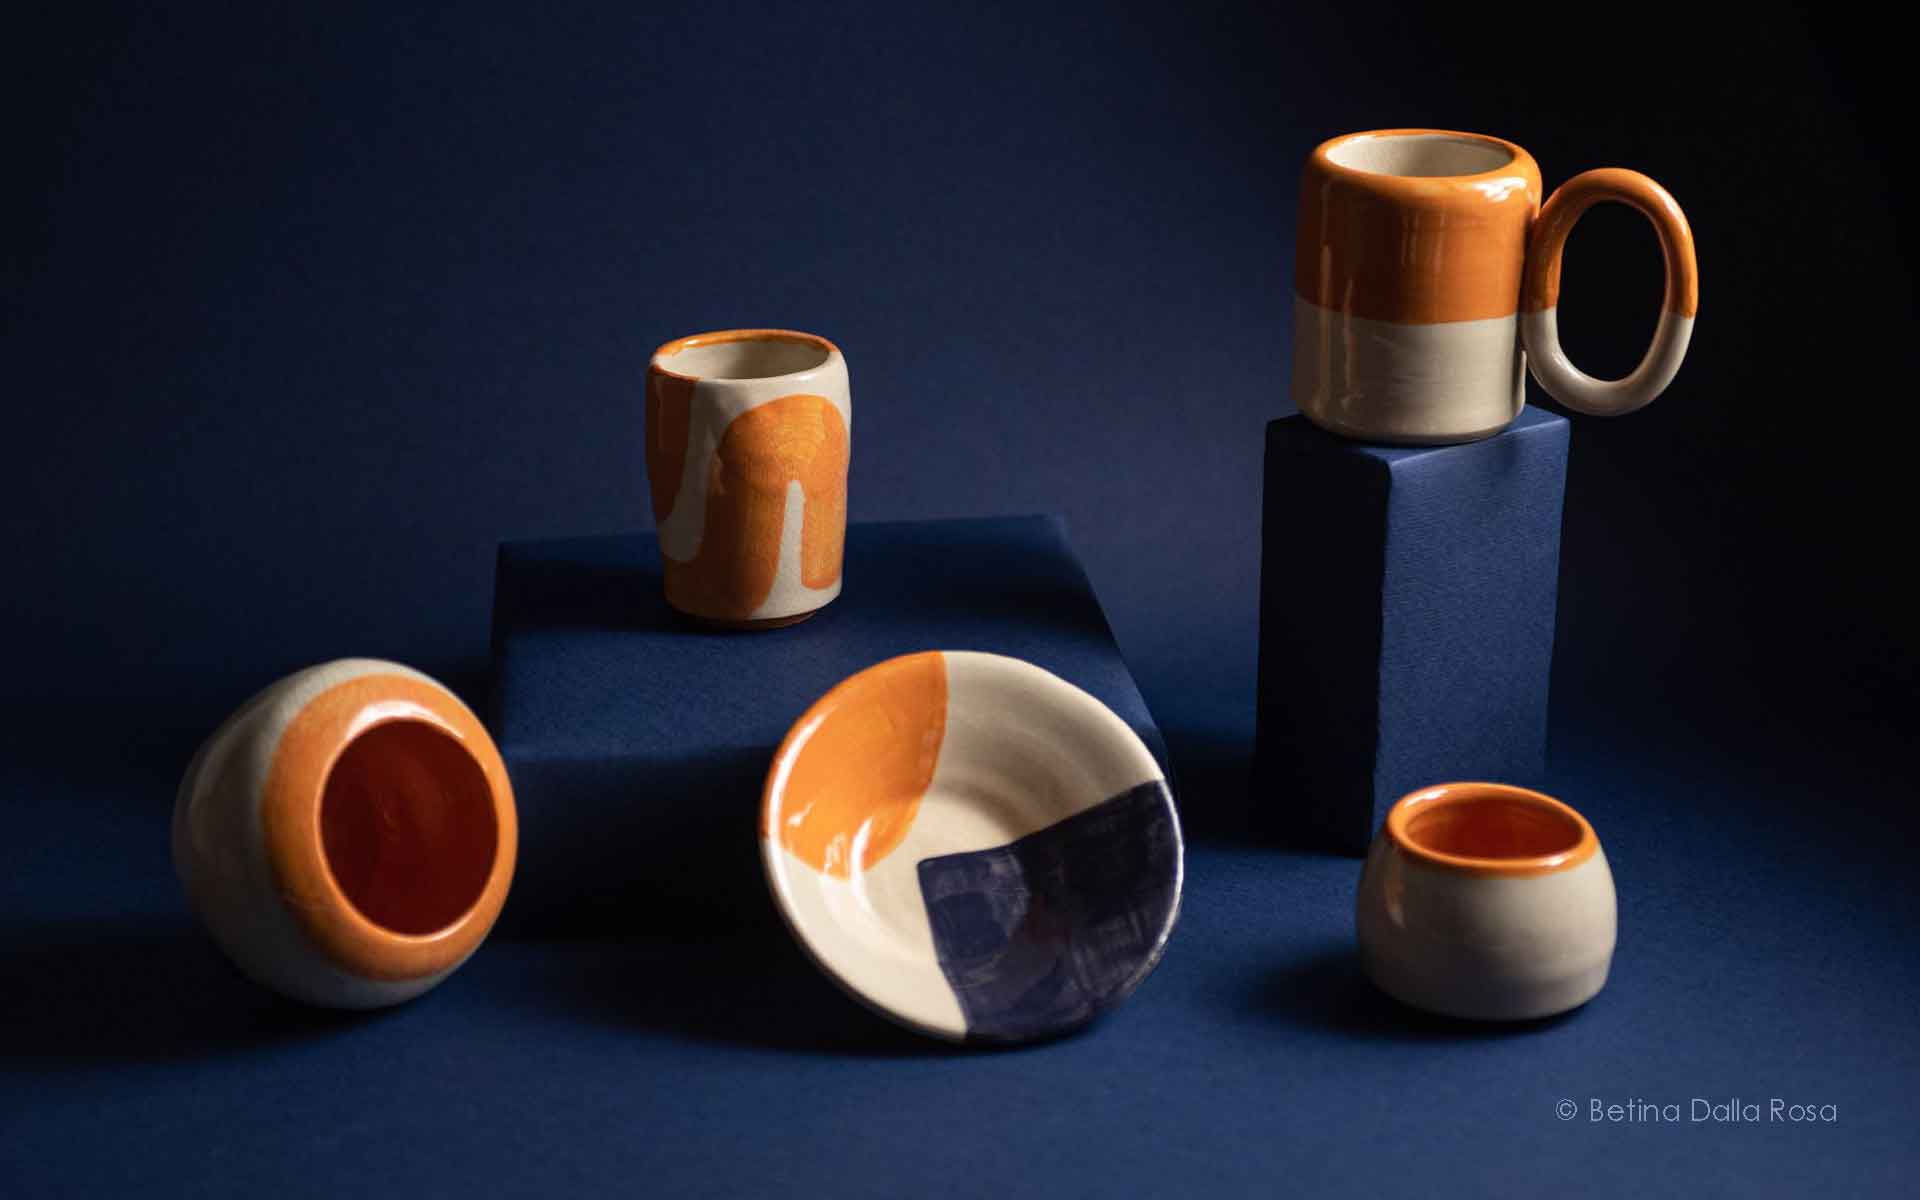
One of the most important jobs for a creative entrepreneur is to produce high-quality, professional looking photography to attract your audience and secure more sales online. In this article, we showcase the stunning photography of Betina Dalla Rosa and the ceramics created by herself and Carmela Caldart. Betina and Carmen are ongoing students at 137° as well as artist’s in their own right. So, if you’re looking for tips on how to photograph your ceramics, you’ve come to the right place!

How do you plan a shoot? What is your process?
To plan the shoot, the first thing I do is choose the pieces of ceramics that I’ll photograph depending on the colors of the pieces and what feeling I want to transmit with the images! I love contrasts, so if for example I have orange pieces, I’ll try to work with complementary colors in the background or props to create contrast, putting the main focus on the pieces and creating a colorful image.

What are your tips for lighting?
My tips for lightning, if you don’t have an artificial source of light, is to photograph close to a window. The natural light is amazing, you just have to position your set in the right place. To use the light laterally or at 45 degrees (frontal) to the object can help you to get more volume and shadows, which creates a very interesting effect. Another cool idea is to use the rays of sunlight – you can also put some objects (like plants) in front of the light, to get some creative shadows.

Are props important for a shoot?
Yeah, I like to use additional props to help me create a narrative. For example, If I’m photographing a plant vase, I like to put some branches or flowers to have more elements in the images. I usually do the shootings in my house, so normally I use decorations or objects that I already have. In this specific shooting, we wrapped some boxes in the same paper as the background to create props that brought more volume and layers to the composition. Other than props, you can use other pieces of yours – if you have similar or identical pieces, you can stack them on top of each other or create interesting patterns using only your pieces.

What about backgrounds?
Backgrounds are very very important, because if you photograph your images with a messy background, you don’t put the attention on the pieces – the background will steal all the attention. I have some photography backgrounds to photograph products that reproduce different textures, like stones, marble, wood, etc. They are very cool if you have pieces that don’t have a lot of texture.
Something that I use a lot is colored paper, like cardboards, because it’s very cheap and you have a lot of colors and sizes to choose from. As I said before, It’s cool to get some colorful backgrounds to contrast with the color of your pieces and make them pop.

Knowing how to photograph your ceramics can feel daunting, especially when it comes to technology, what camera do you use?
I’m a professional photographer so I have a Nikon D750, and a 24-70mm f2.8 lens – that’s my kit to photograph anything, because it’s a very versatile lens.
But it doesn’t mean that you need a professional camera to take very cool pictures of your ceramics. You can definitely have very good images with your smartphone. It’s more important to be creative in composition and lighting than to have an amazing camera, so pay attention to it.

Do you use any post-production editing software?
Yes, I use Lightroom and Photoshop to edit my images. 80% Lightroom to adjust lighting and colors, and Photoshop in case I have to remove something in the image, like dust or other unwanted marks. You can also edit your pictures in your phone with Lightroom or other apps. I love the VSCO app to edit on my phone.

What are your tips for editing photography?
I always try to have the final image as ready as possible before I click, so I don’t have too much work to do while editing. I recommend using color temperature, brightness, contrast, saturation, shadows, highlights, etc. But this will change for every image. What I recommend is to really take some time to edit the images, experiment with all of these tools and see what the best result is, because editing is a very important part of photography. One important thing that you can think when editing is that if you have a series of images, it’s a good idea to have a coherence between them, so they will work perfectly together. They should have similar contrast, saturation, lighting and brightness, so that the collection of images work well when seen together.

What are the common mistakes when people photograph ceramics?
I think that the biggest mistake is not to give enough attention to the images. They can help you A LOT in selling your pieces, especially if they are eye-catching images. Taking time to plan out your photoshoot and edit your images is really important. Colors, textures, lighting, composition – if you do this right, I’m pretty sure you’ll get people’s attention!
Written by Freya Saleh and Betina Dalla Rosa